1
Create an account with Flex
Navigate to the registration page to create an account. If you already have an account, you can log in to Flex Dashboard
2
Add payout information
Click the prompt at the top of the screen to add your payout information.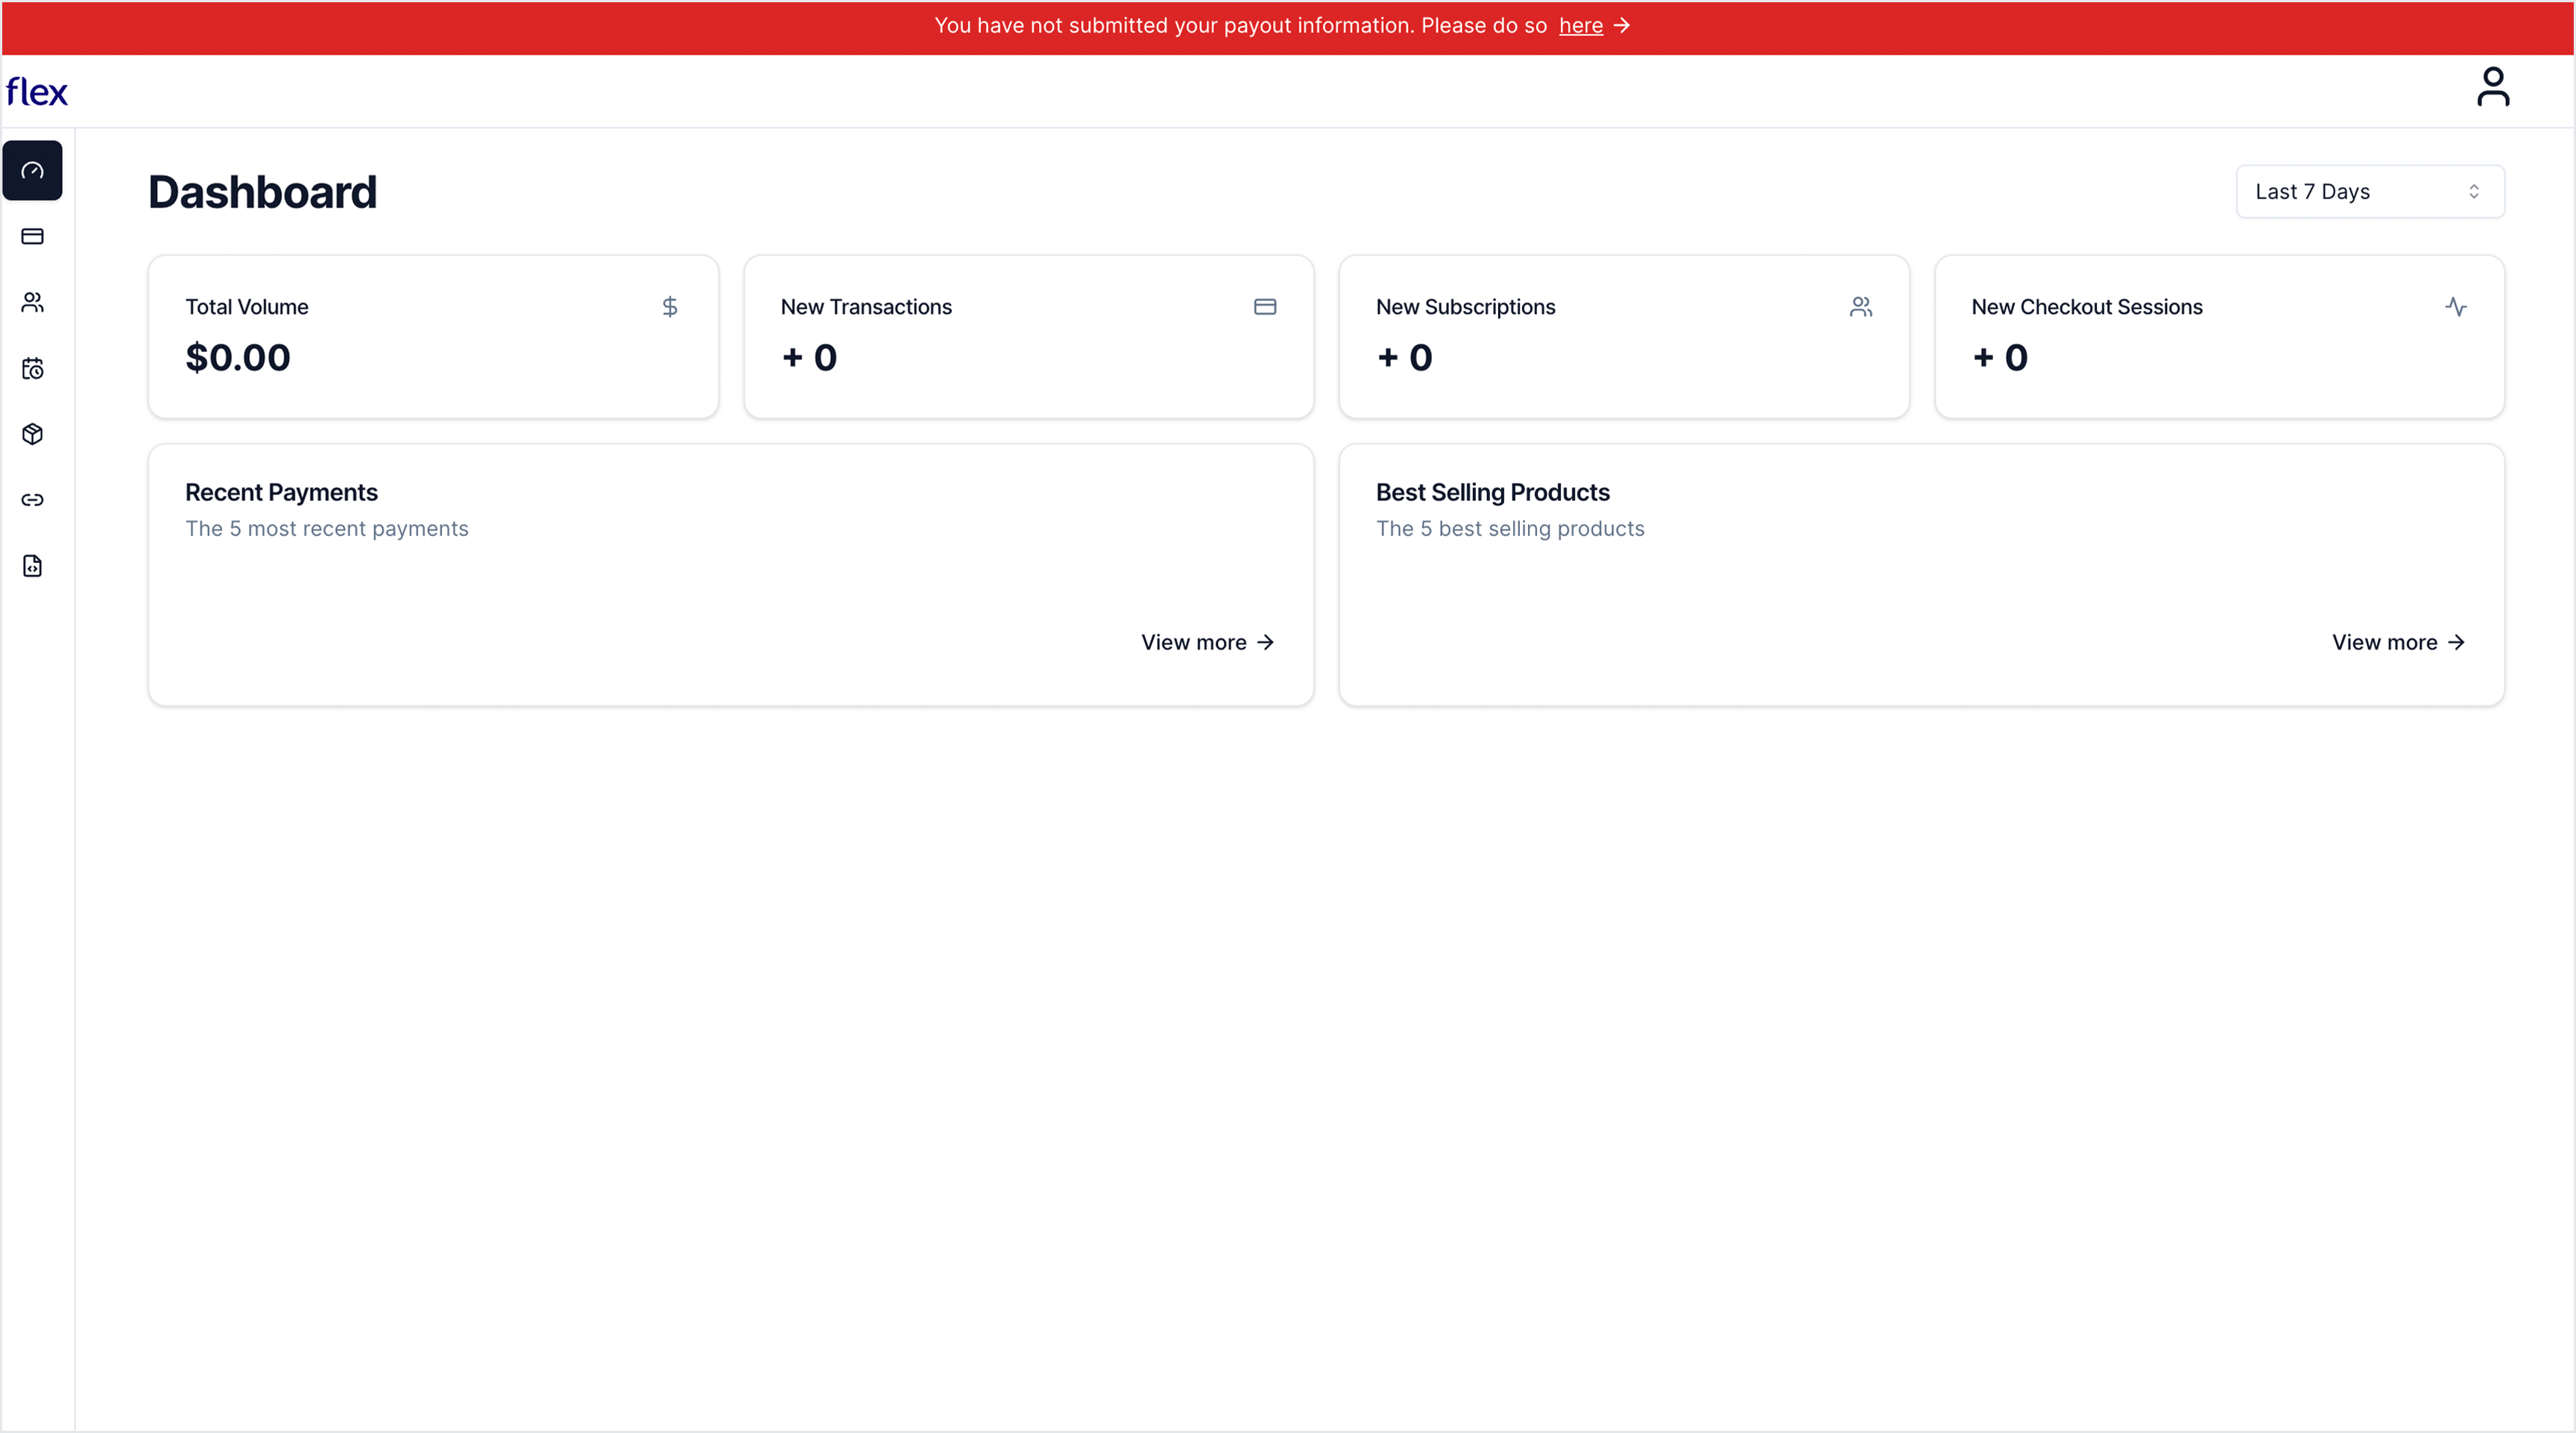
3
Download plugin
Navigate to the latest release of the WooCommerce extension and download the 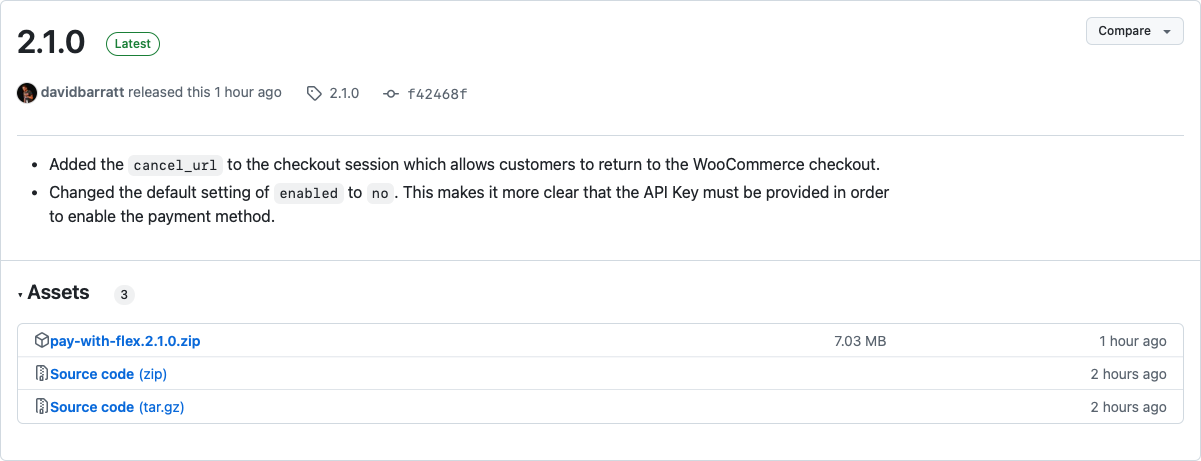
pay-with-flex.X.X.X.zip file4
Navigate to add plugin in WordPress
Within your WooCommerce store, navigate to Plugins → Add Plugin which is located at 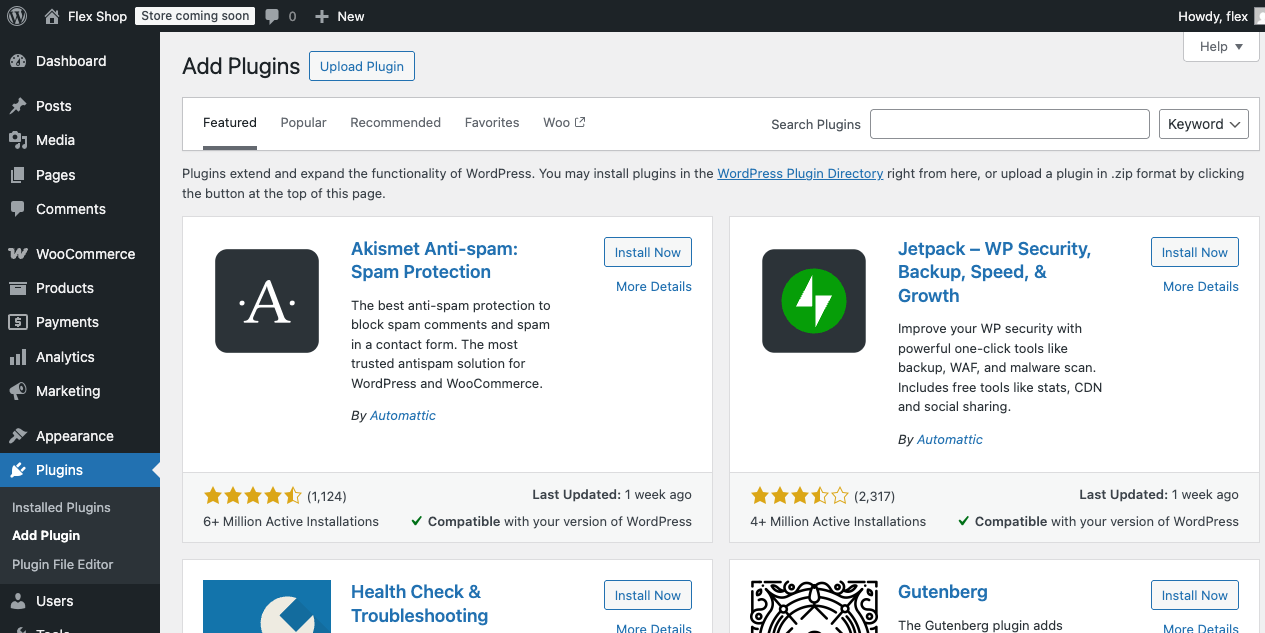
/wp-admin/plugin-install.php.5
Click upload plugin in WordPress
Click on the “Upload Plugin” button. This should present instruction on uploading the plugin
6
Install plugin
Attach the zip file that was obtained in step 3.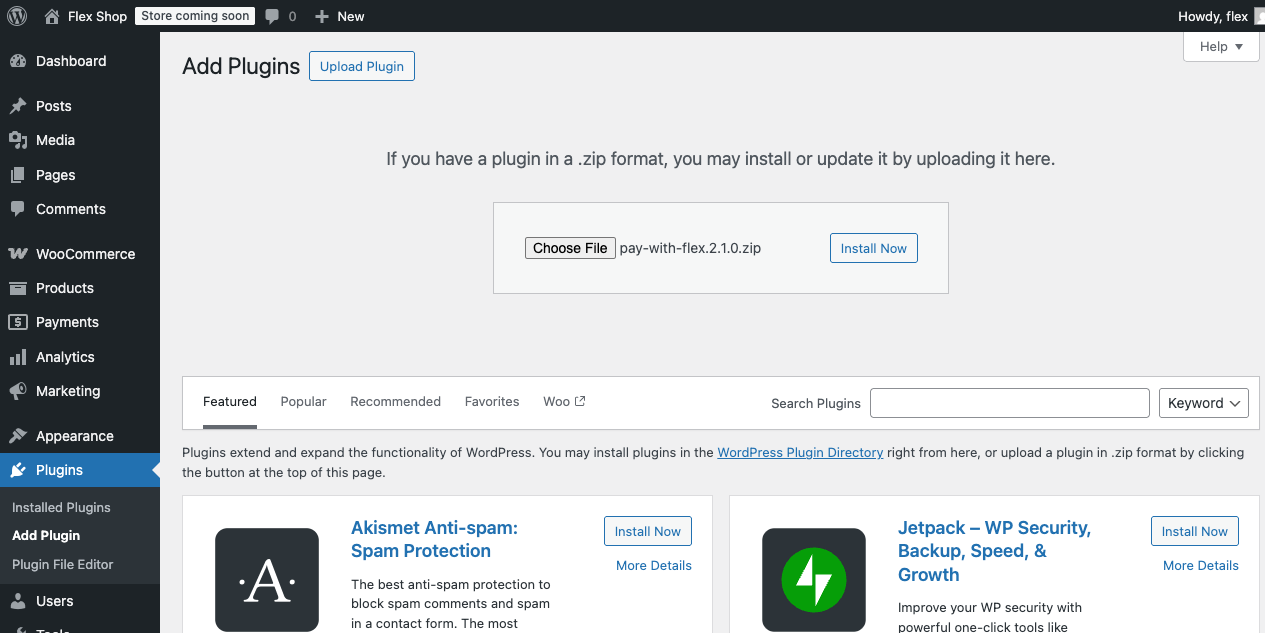
7
Navigate to payments in WooCommerce
Within your WooCommerce store, navigate to WooCommerce → Settings → Payments which is located at 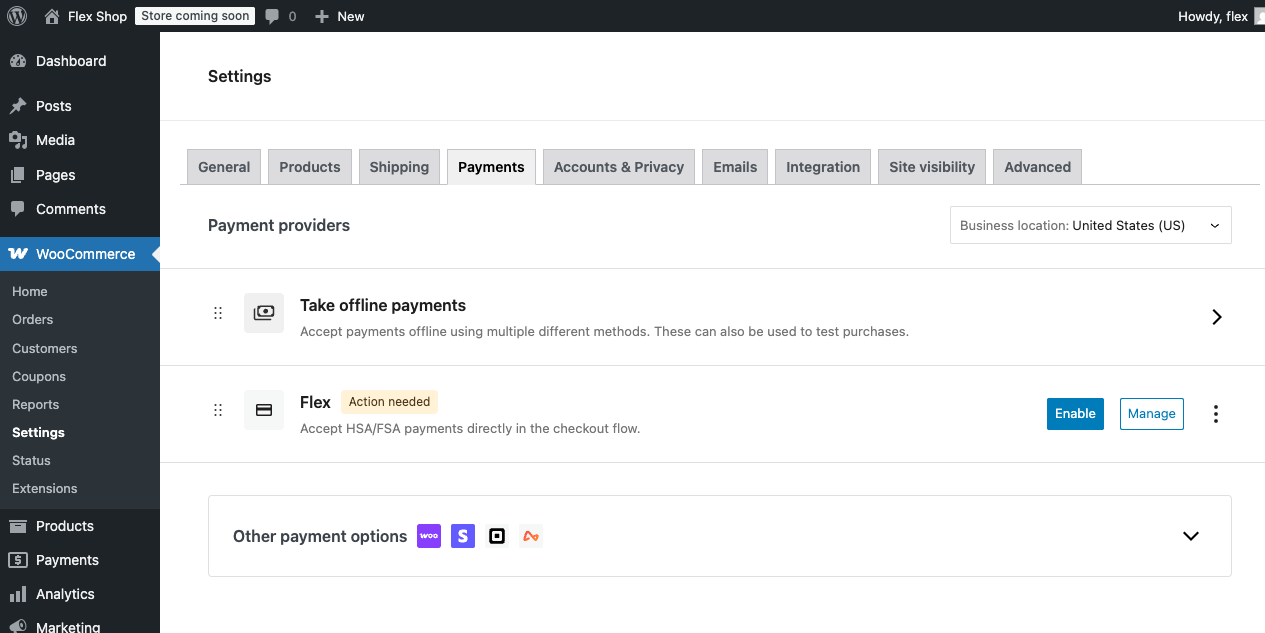
/wp-admin/admin.php?page=wc-settings&tab=checkout.8
Manage Flex settings
Click “Manage” on the Flex payment gateway which will bring you to 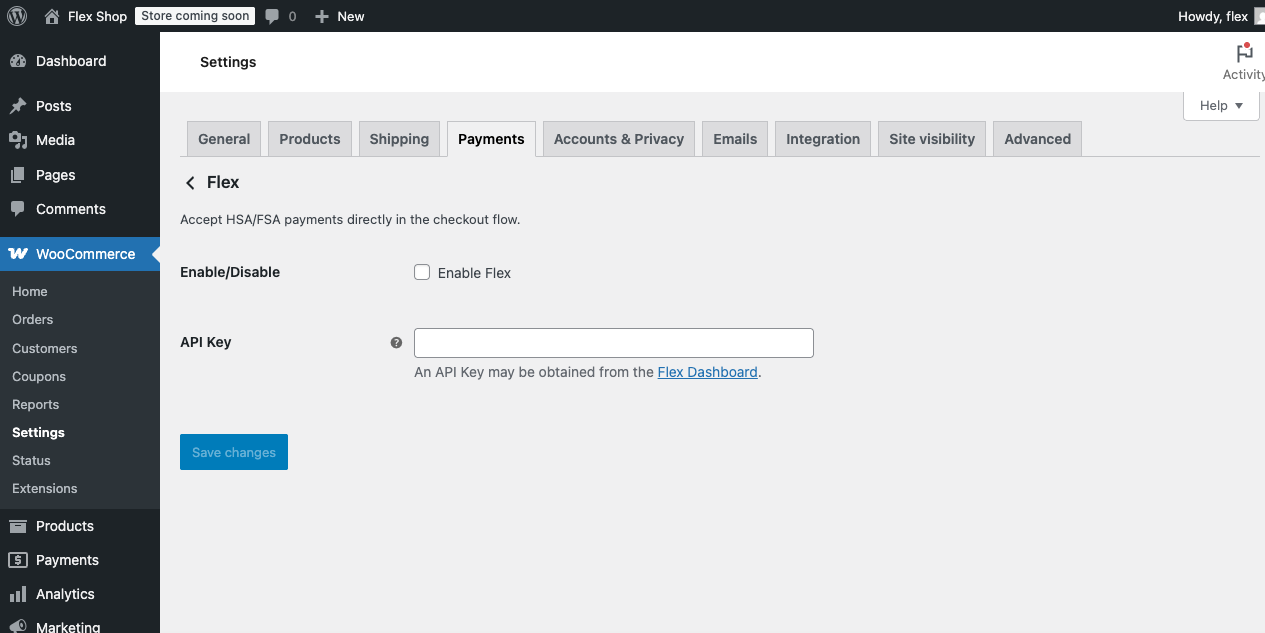
/wp-admin/admin.php?page=wc-settings&tab=checkout§ion=flex9
Navigate to API keys
Click the “Flex Dashboard” link which will bring you to the API Keys page.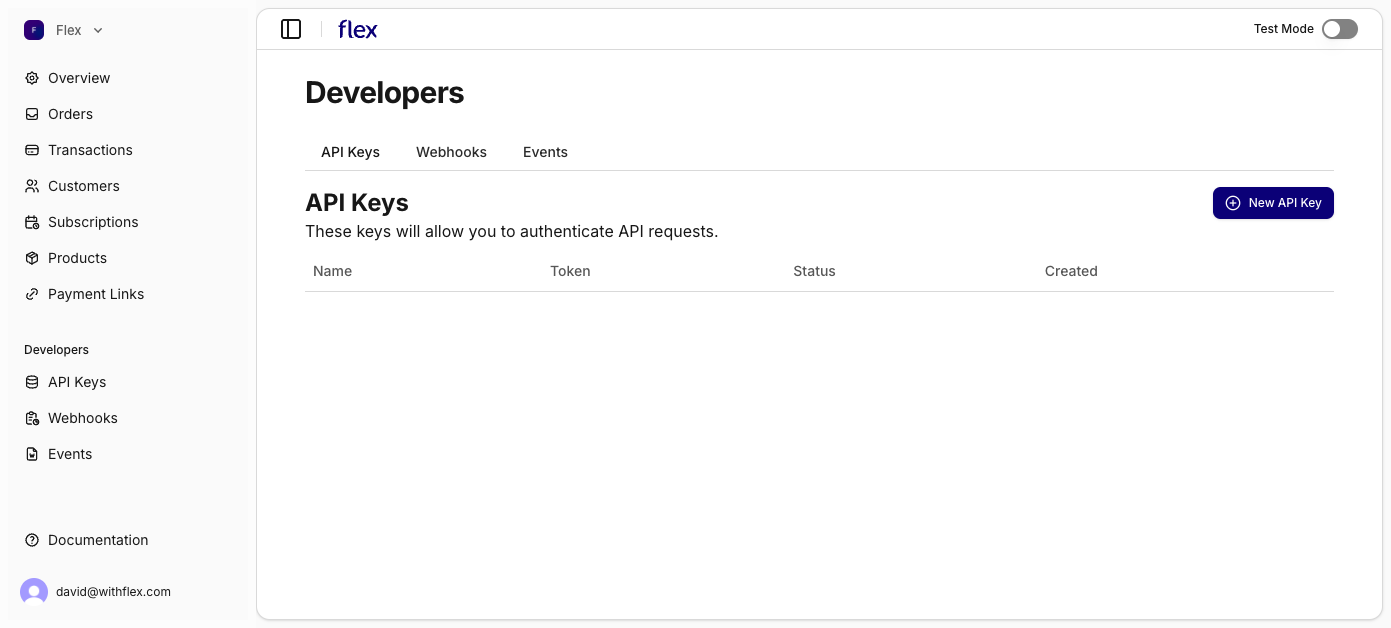
10
Create a new API key
Create a new API Key by clicking “New API Key” you may name it whatever you would like.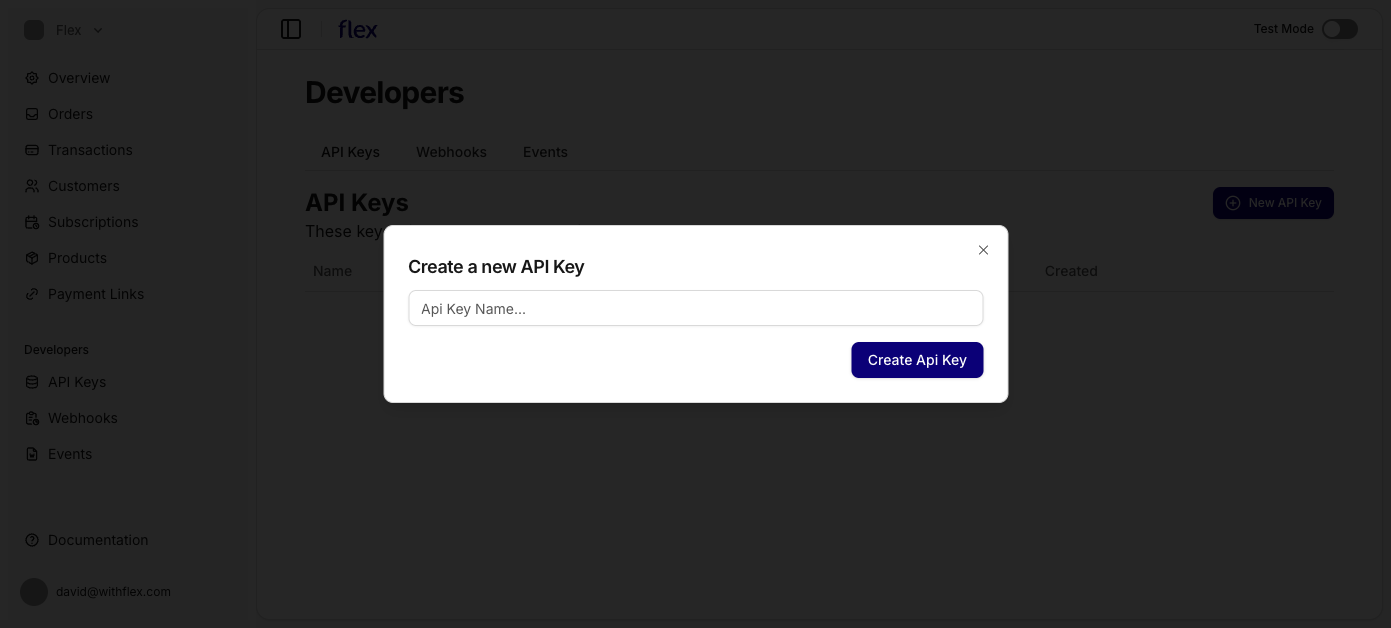
11
Copy token
Copy the created API Key Token and return to the Flex Settings in WooCommerce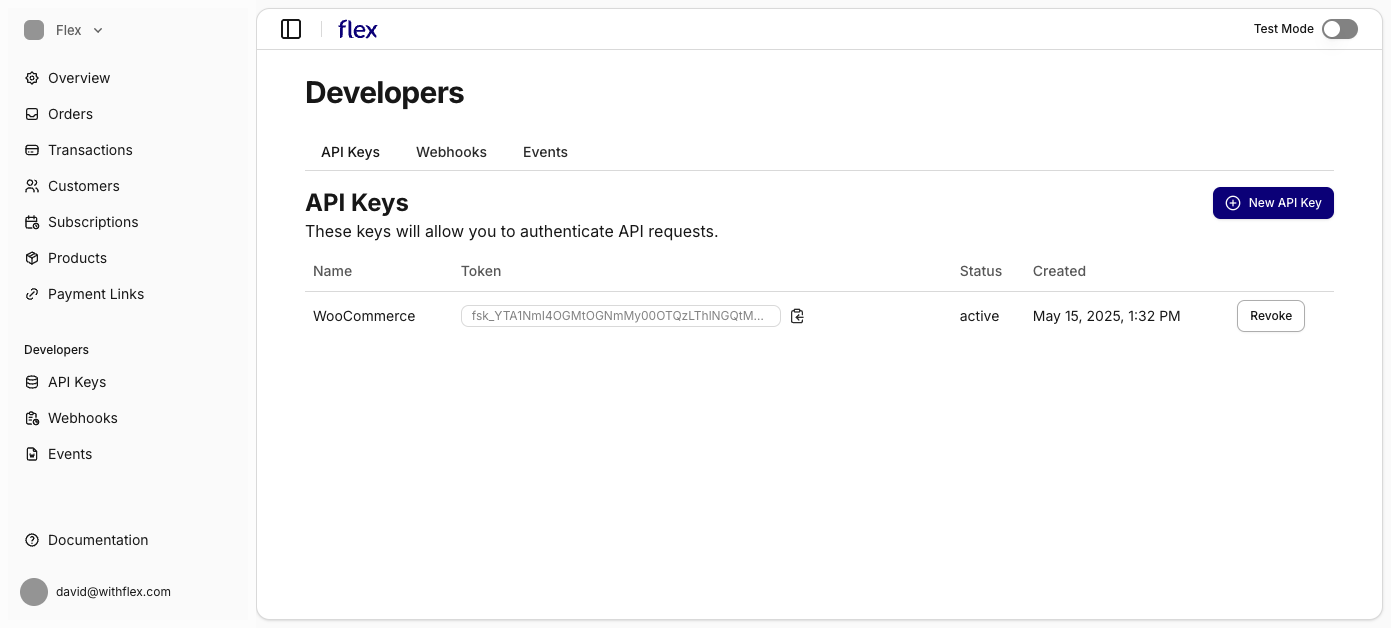
12
Enable Flex
Select “Enable Flex” and add the API Key in the box provided. Click “Save changes.”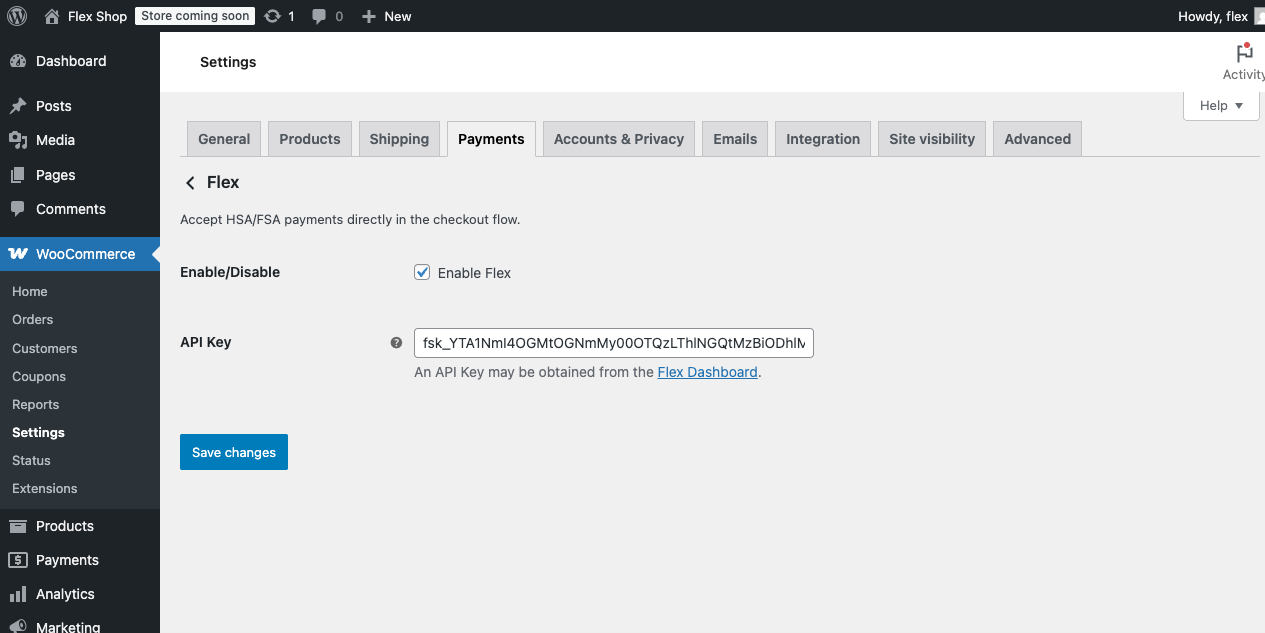
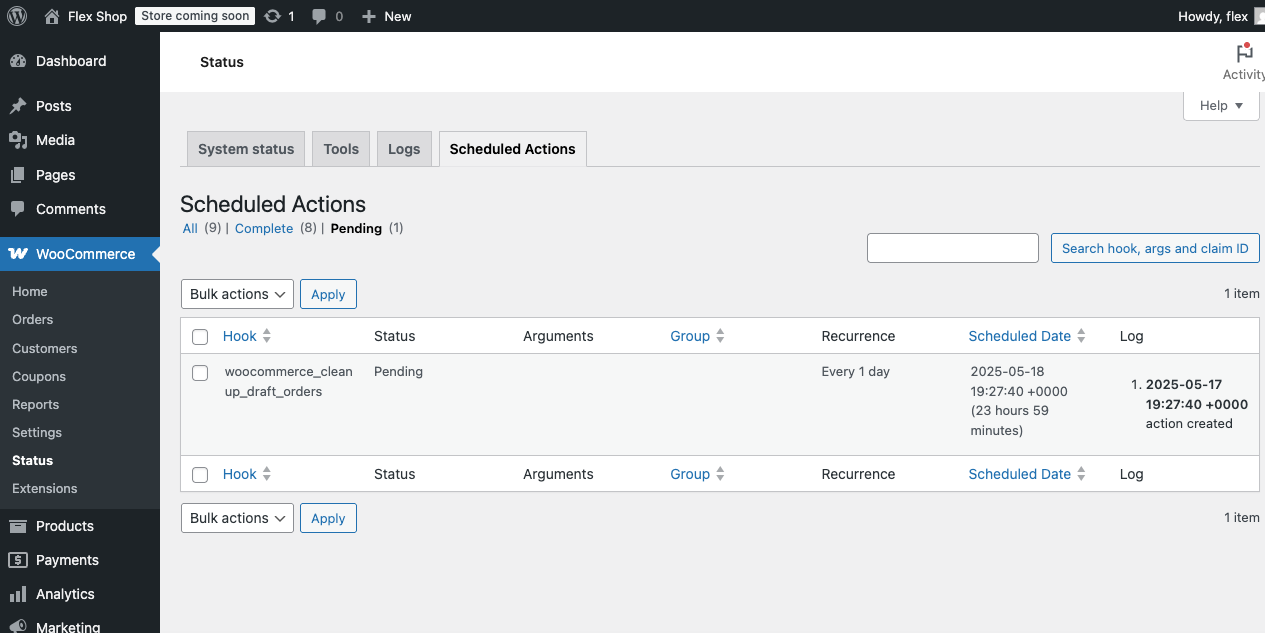
/wp-admin/admin.php?page=wc-status&tab=action-scheduler&status=pending